Custom, DIY Baby Onesie Using a Cricut Explore Air 2, Stencil Vinyl, Fabric Paint and New Designs by Paislee Press
Note: This blog post contains affiliate links, which means I receive a commission based on sales generated via these links.
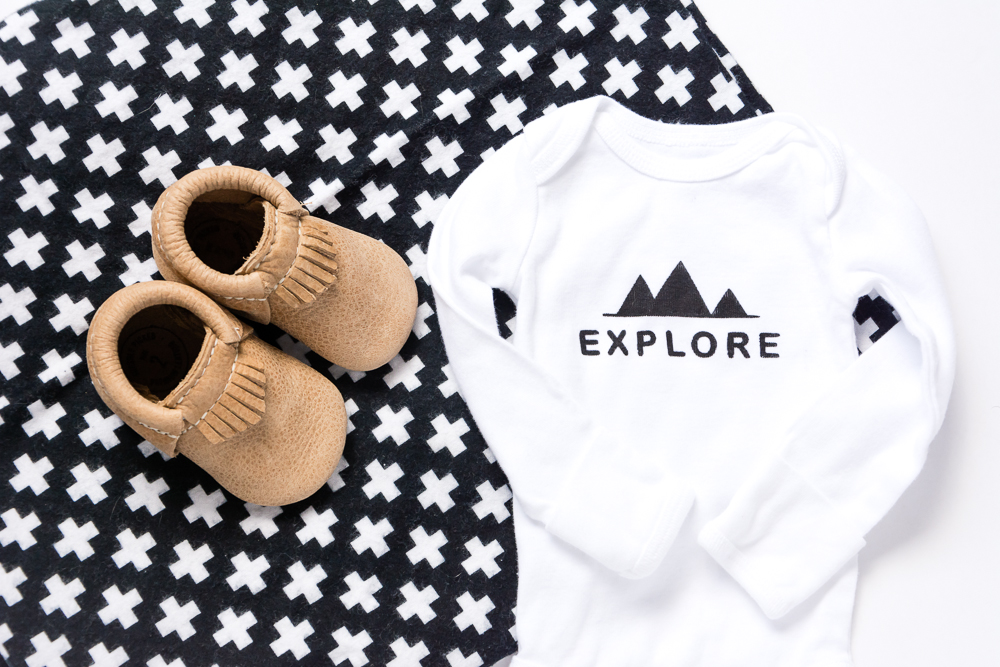
MAKE YOUR OWN CUSTOM, DIY BABY ONESIE WITH CRICUT EXPLORE AIR 2!
With your Cricut machine, you can easily create adorable, easy baby onesies using a little bit of knowledge, some stencil vinyl and craft paint! With six supplies and six easy steps, you can do this simple craft at home! Want to learn how? Just keep scrolling down!
Hi friends, I'm so excited to be sharing this super fun project today!
Many of you already know that my husband and I are adopting a child. As a result, I've been in nesting mode lately, gathering and making things for a baby. Since we don't know yet whether we will be having a boy or a girl, I've been collecting gender neutral clothing items.
When Liz with Paislee Press released the Scenic Route collection, I was immediately enamored with it. I'm so excited to use it in my pocket page scrapbook and digital scrapbook pages, but first, I just had to use it to make some baby onesies!
With a little text advice from my sweet friend Emily (Desk of Confetti), I used my Cricut Explore Air 2 machine to create these adorable outfits that I cannot wait for our little one to wear soon!
Here’s a list of supplies you’ll need to get started:
A solid color baby onesie
Cricut Machine (I used my Cricut Explore Air 2)
Fabric Paint (preferably heat set paint)
Iron and pressing cloth (baby burp cloth or thin towel)
Scrap piece of cardboard


